# Creative Builder Fundamentals
# Project Set Up
#### ****Building a new creative****
To set up a new creative, click the ****'New Creative'**** button, which is available globally on the Adctv platform.
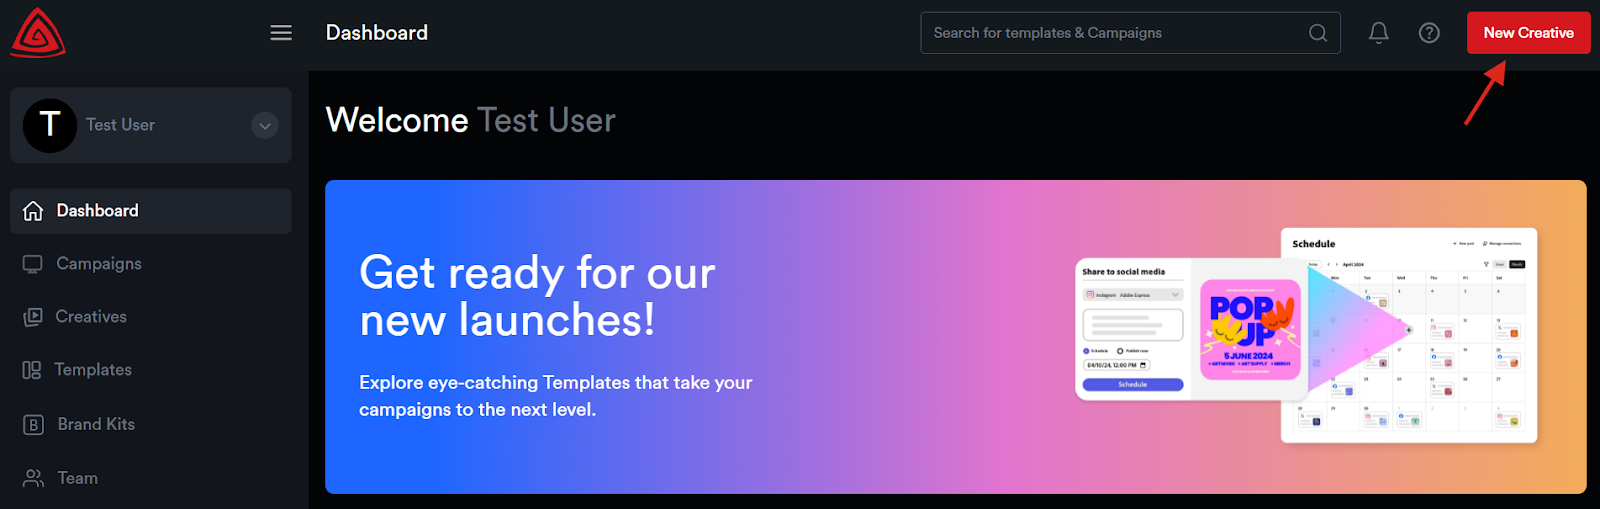
This will open the ****'New Creative'**** pop-up window.
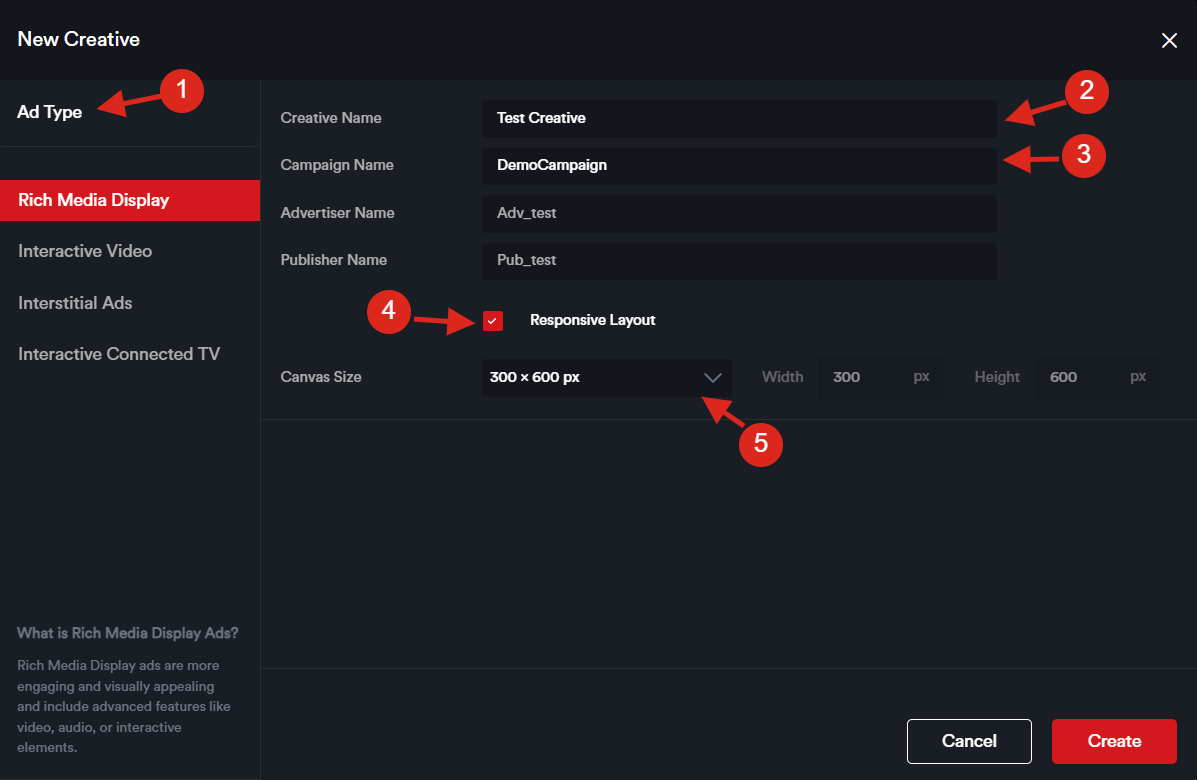
1. You will see a list of available ****Ad Types****—select the one that best suits your campaign.
The available options include ****Rich Media Display****, ****Interactive Video****, ****Interstitial Ads****, and ****Interactive Connected TV (CTV)****.
****Rich Media Display****
Rich media display ads are visually engaging and include advanced elements like video, audio, and interactive features to capture user interest more effectively.
****Interactive Video****
Interactive video ads provide a dynamic platform for storytelling, allowing brands to convey their message thereby offering an effective way to capture audience attention, drive engagement, and achieve marketing objectives. ****Interstitial Ad****
An interstitial ad is a type of full-screen ad that covers the interface of its host app or website.
****Interactive CTV Ads****
Interactive Connected TV ads are tailored for streaming platforms accessed via smart TVs, gaming consoles, and streaming devices (like Amazon Fire TV or Apple TV). These ads often incorporate interactive components to enhance viewer engagement.
2. Enter the ****Creative Name****
3. Enter the ****Campaign Name****, ****Advertiser Name,**** and ****Publisher Name****. - If the campaign name you enter already exists, the advertiser and publisher fields will auto-populate.
4. Enable ****Responsive Layout**** (optional) – Check this box if you want the creative to be built with a responsive layout that adapts to various screen sizes.
5. Choose ****Canvas Size****: Select from [predefined ad dimensions](https://drive.google.com/file/d/1lvkSawOp1FeJtlF-hxWb8uweseK62rnI/view) or input [custom dimensions](https://drive.google.com/file/d/18H83z7dKUR3t1VlvVSXZWFOLBJ5KVU_x/view?usp=drive_link) as required.
Once all necessary details are filled out, click the "****Create****" button. You will then be redirected to the Drag and Drop Ad Builder, where you can begin building your ad.
👉 Want to customize your projects? Know about the [Adctv Creative Builder](https://docs.adctv.com/books/product-guide/page/toolbar-and-panels) to get started.
# Working with Components
The Components (Interactive Widgets) panel is accessible from the top toolbar.
[](https://docs.adctv.com/uploads/images/gallery/2025-11/toolbar2.png)
Getting started is easy—simply drag and drop any component from the list onto your canvas based on the needs of the creative you’re building.
[](https://docs.adctv.com/uploads/images/gallery/2025-11/image.png)
Below is the list of widgets available within the Adctv platform.
[Adctv Widgets](https://docs.google.com/spreadsheets/d/1z4pD1dsh02L-U4CAciNr5zZKmUaElVPxYSrTKhSaz84/edit?gid=1590277982#gid=1590277982 "Adctv Widgets")
# Design Tools
# Building Ads from Adctv Templates
Adctv offers a collection of built-in templates for both ****Rich Media Display**** and ****Connected TV (CTV)**** ad formats. If starting from a blank canvas feels complex or time-consuming, you can simply select a pre-designed template that suits your creative needs, customize it with your own assets, and quickly build your ad with minimal effort.
Even when using a template, you have ****full creative flexibility****. You can:
- Move and reposition elements such as logos
- Rearrange components to match your desired layout
- Add or remove elements as needed
- Incorporate animations for enhanced visual impact
#### ****Selecting a Template****
Within the ****Template**** module, browse and select your preferred template.
**Screenshot Pending**
Templates are organized by ****Ad Type****, and you can use filters to narrow your options by:
- ****Ad Size****
- ****Ad Category**** (e.g., responsive, expandable)
- ****Components Used****
**Screenshot Pending**
Click on any template to view its details in a pop-up. To preview the template, simply click ****‘Preview Template’****.
**Screenshot Pending**
Once you've found the right template, click ****‘Use This Template’****. You’ll be prompted to enter your creative details in the ****New Creative**** pop-up. After filling in the necessary information, click ****‘Create’**** to get started with customizing your ad using the Drag-and-Drop Builder.
When your creative is complete, click ****‘Export’**** to generate the final ad tag.
****Saving a Creative as a Template****
You have two options to save a creative as a template:
****1. From the Editor Page:****
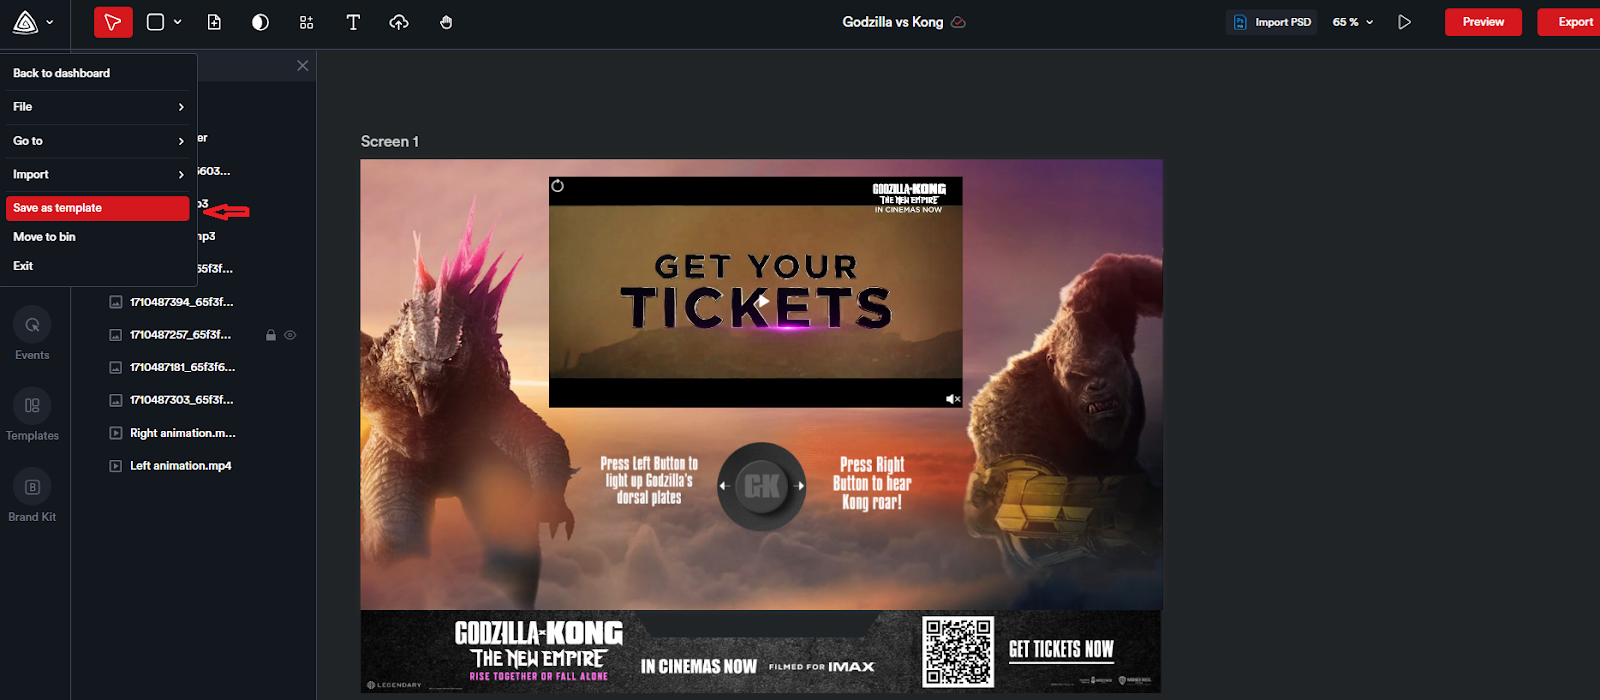
While on the editor page of your creative, open the navigation menu and select ‘Save as Template’. A pop-up will appear prompting you to enter a name for your template. Click ‘Create’ to save it. All templates you create will be stored under Templates > My Templates, where you can view or customize them as needed.
****2. From the Creative Card****
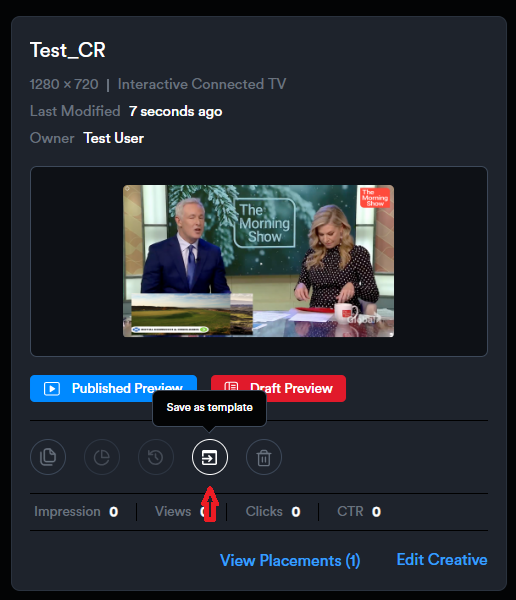
You can also save a creative as a template without opening the editor. Open your campaign and locate the creative you want to convert. On the creative card, click the ‘Save as Template’ icon. A pop-up will appear, allowing you to name the template. Click ‘Create’ to save it.
****Adding a Template to Your Creative****
Within the builder, you have the option to add a template to your current creative. On the left-hand side, you’ll find the ****Templates**** module.
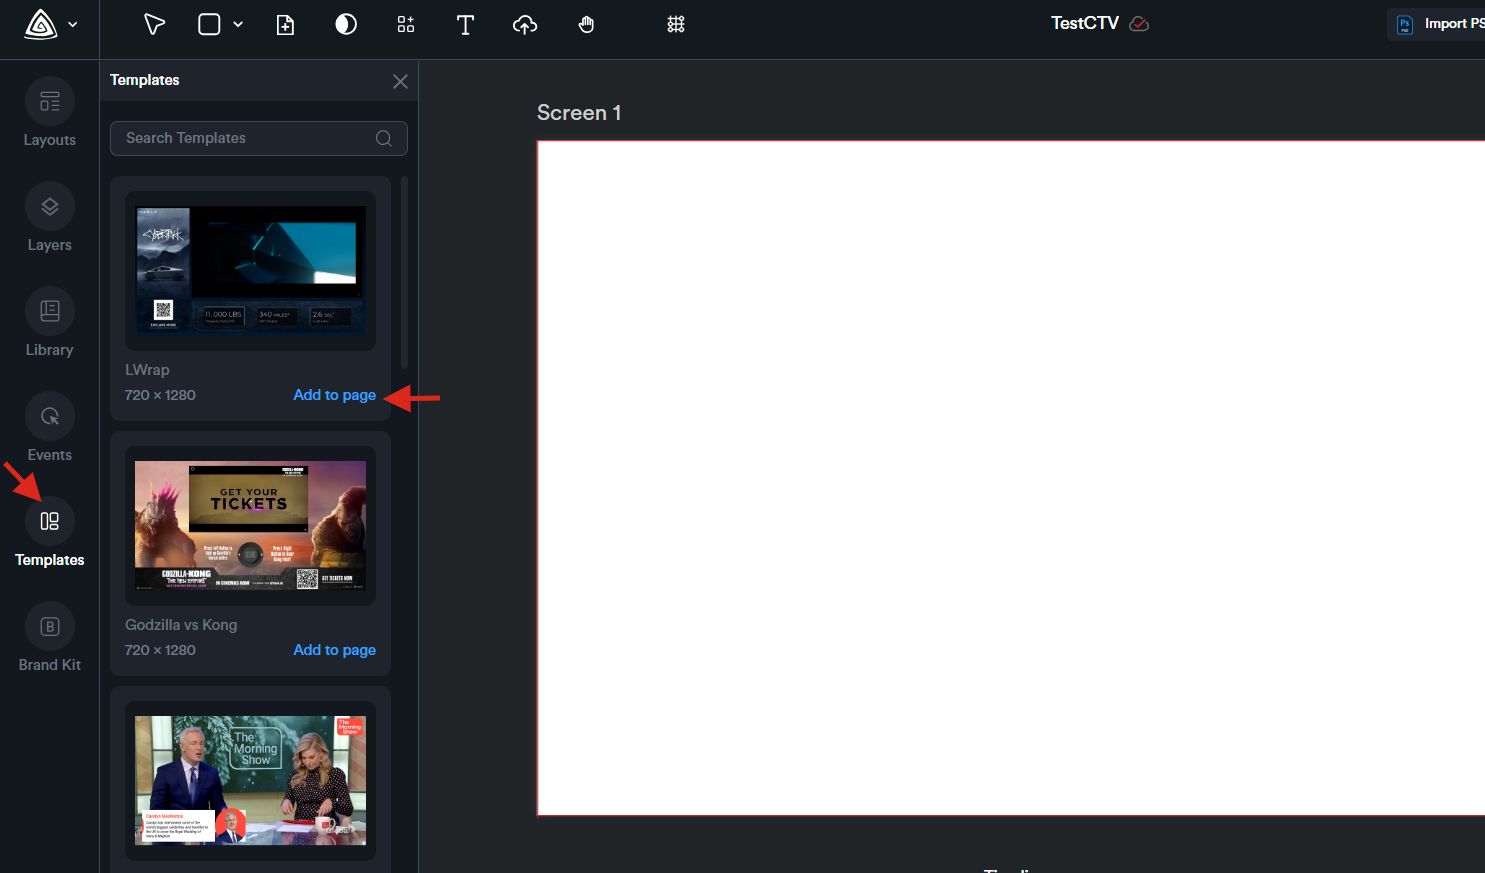
This module displays templates that match your selected canvas size, making it easy to choose one that fits your layout.
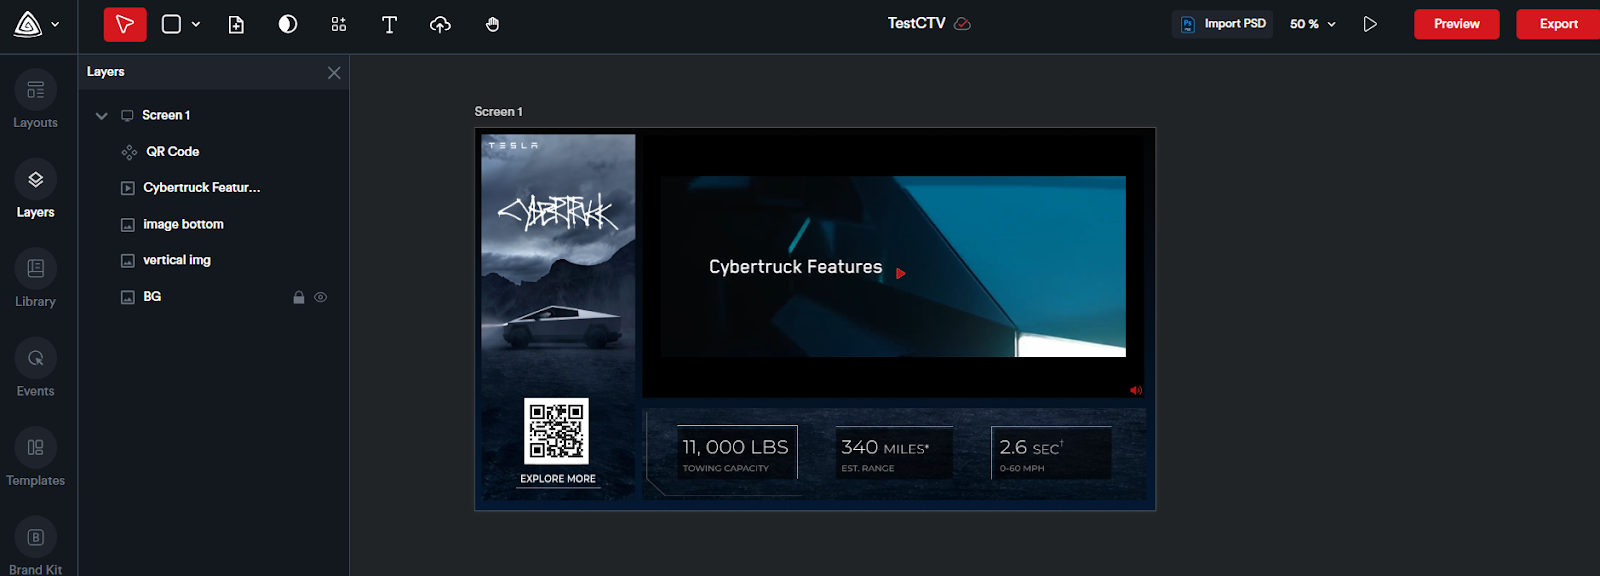
Simply browse through the available templates and click ****‘Add to Page’**** to instantly insert it into your creative for further customization.
# Brand Kits
The ****BrandKit**** module allows you to seamlessly store and manage assets for multiple brands in one place.
Share your Brand Kit with collaborators through a unique link, giving them access to view or upload brand assets as needed.
Easily upload logos, define color palettes, add fonts, and include other media such as images and videos.
On the Dashboard, click ****‘Brand Kits’**** from the navigation bar on the left.
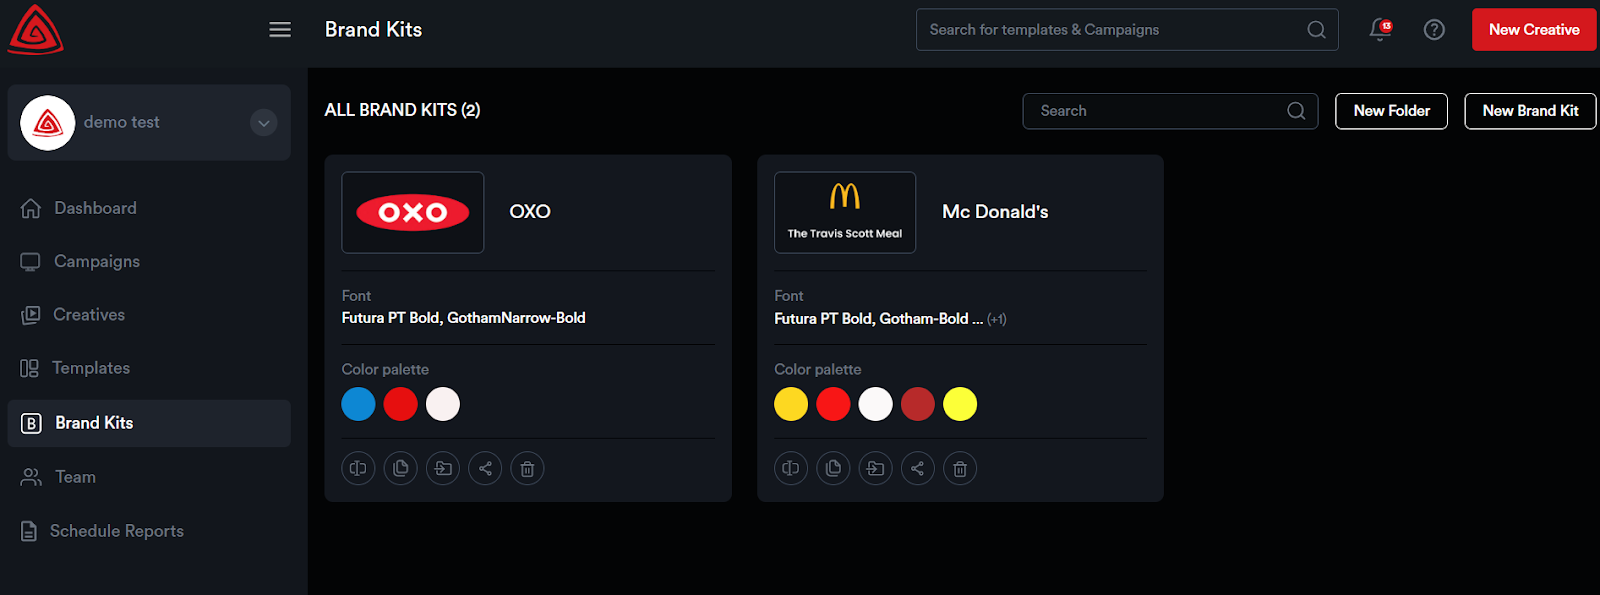
To create a new Brand Kit, click on ‘New Brand Kit’, enter a name, and then click ‘Create’.
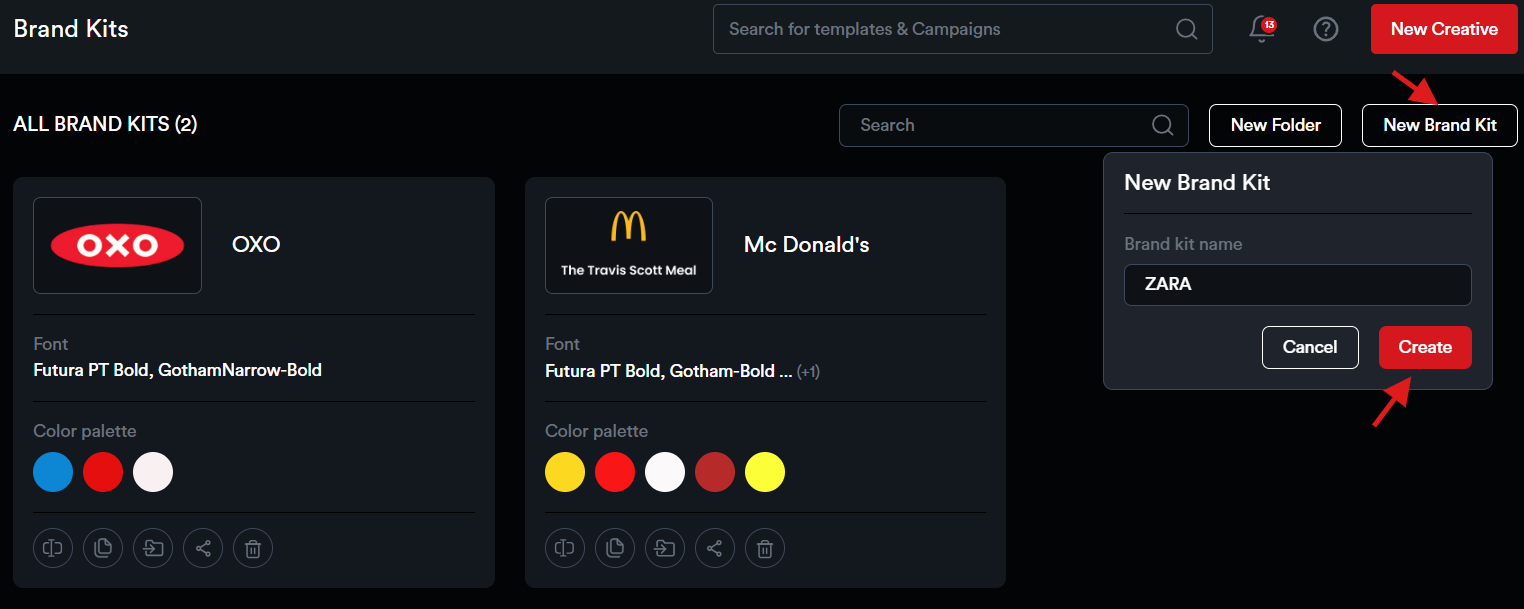
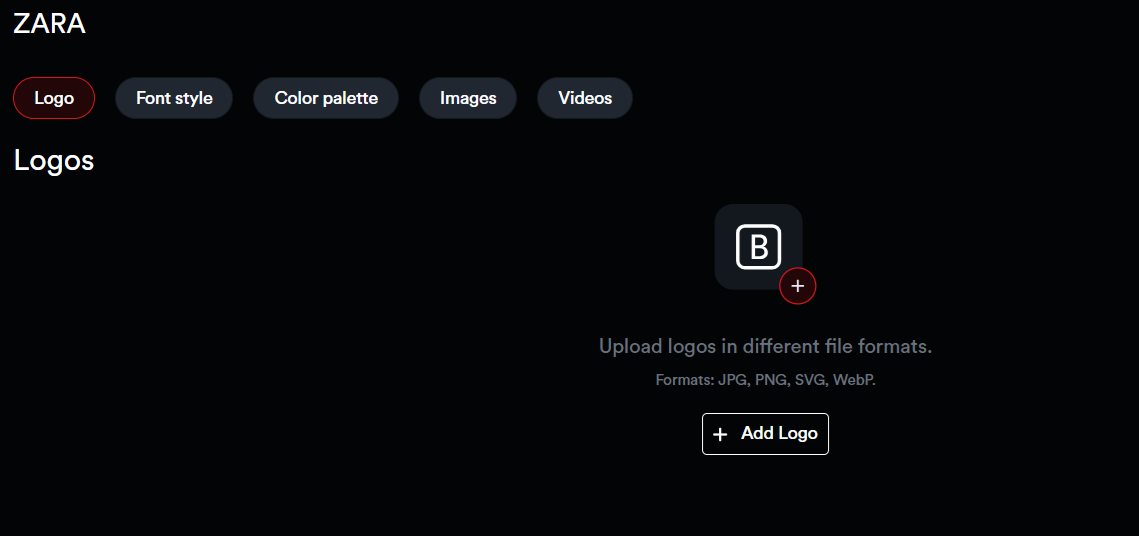
You're now inside the Brand Kit. Here, you can add logos, fonts, colors, images, and videos to customize your brand kit.
Click ****‘Add Logo’**** to upload your brand logos.
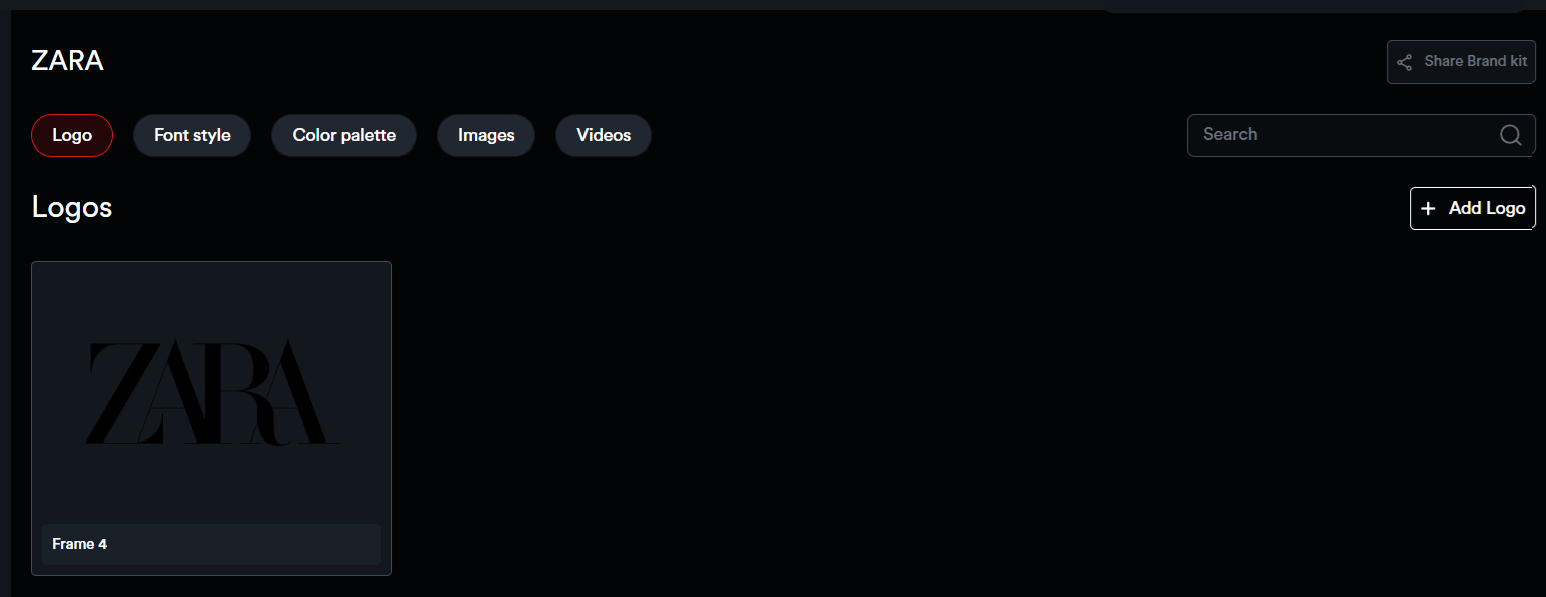
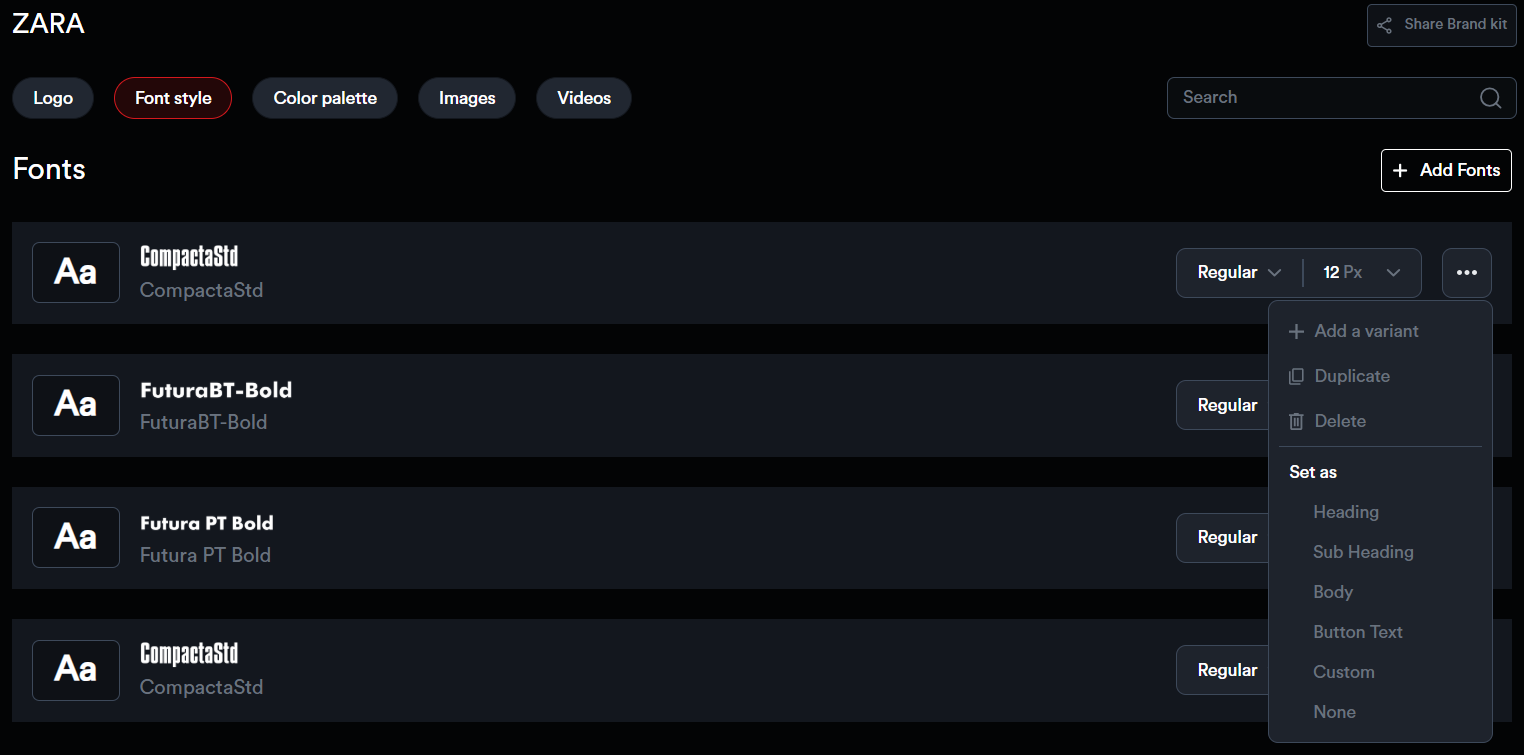
Click ****‘Add Fonts’**** to select and upload font files.
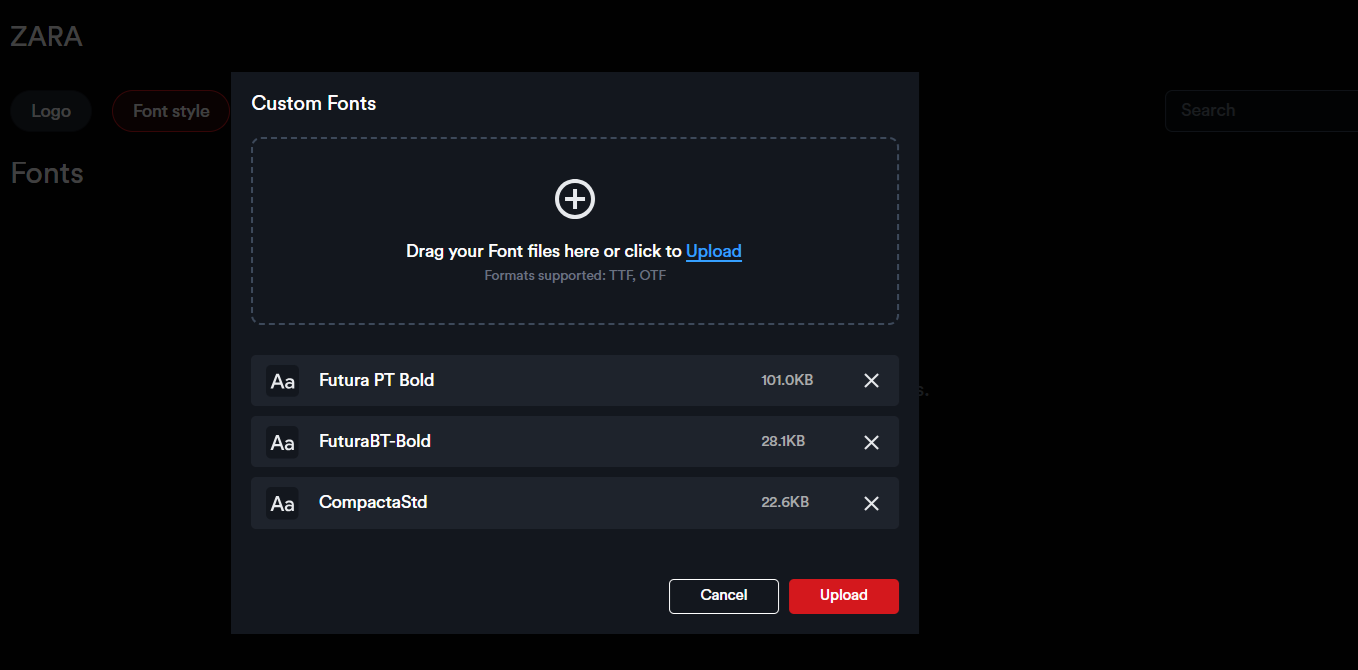
For each font added to the kit, users can create a variant, duplicate it, or delete it. Fonts can also be categorized by setting them as Heading, Subheading, Body, Button Text, Custom, or None.
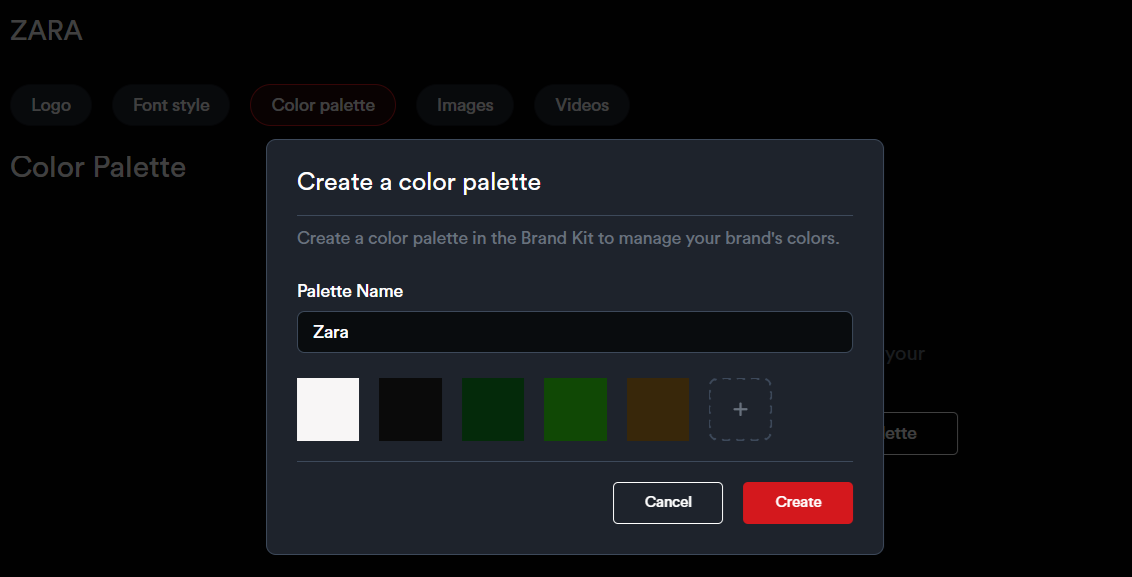
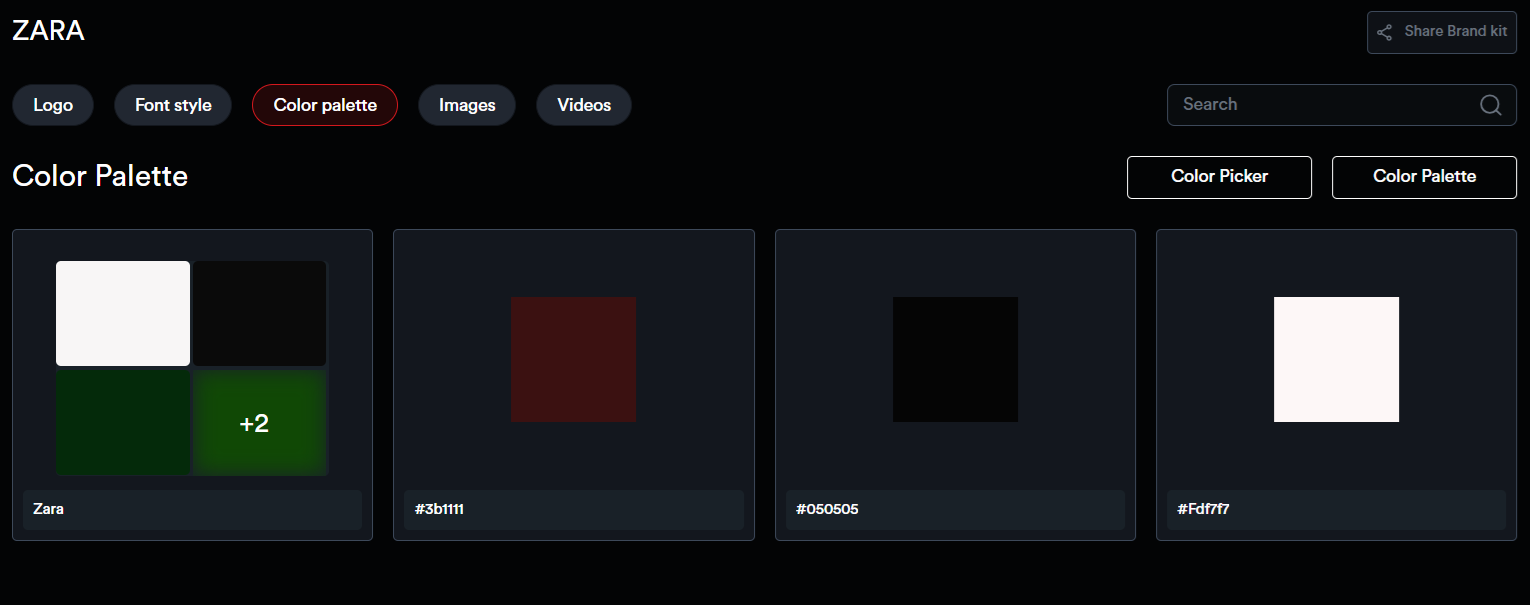
Under the ****Color Palette**** section, use the color picker to select and save individual colors, or create complete color palettes.
In the ****Images**** section, users can upload and save image assets for the brand.
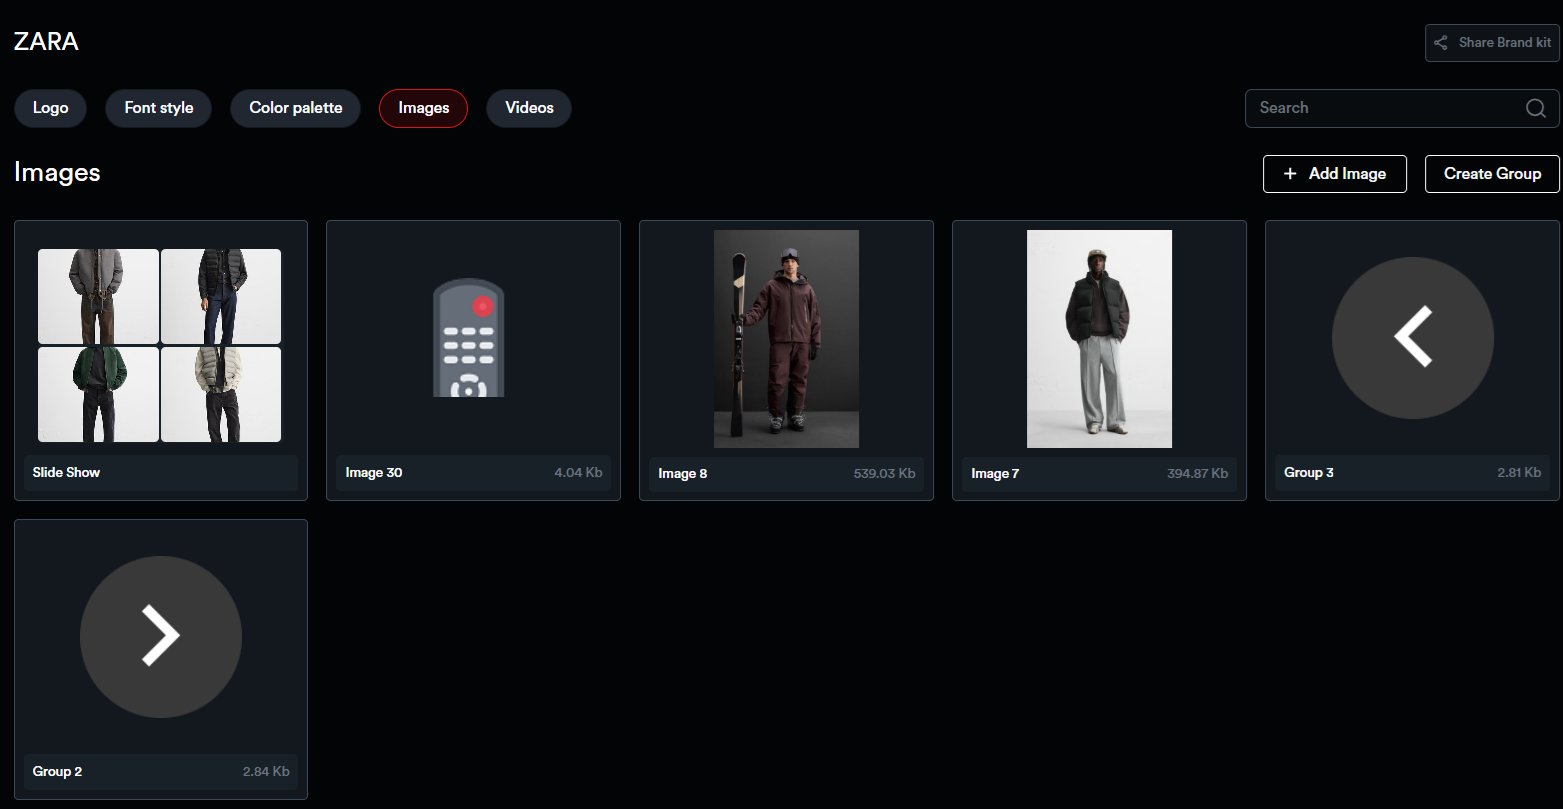
These assets can also be organized into different groups. To create a group, click on ‘Create Group’, enter a name, and upload images directly from the popup.
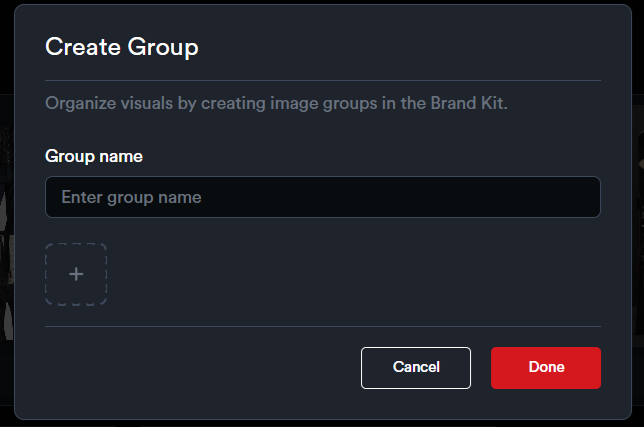
Each uploaded image includes options to Rename, Move to Group, Replace, Duplicate, or Delete.
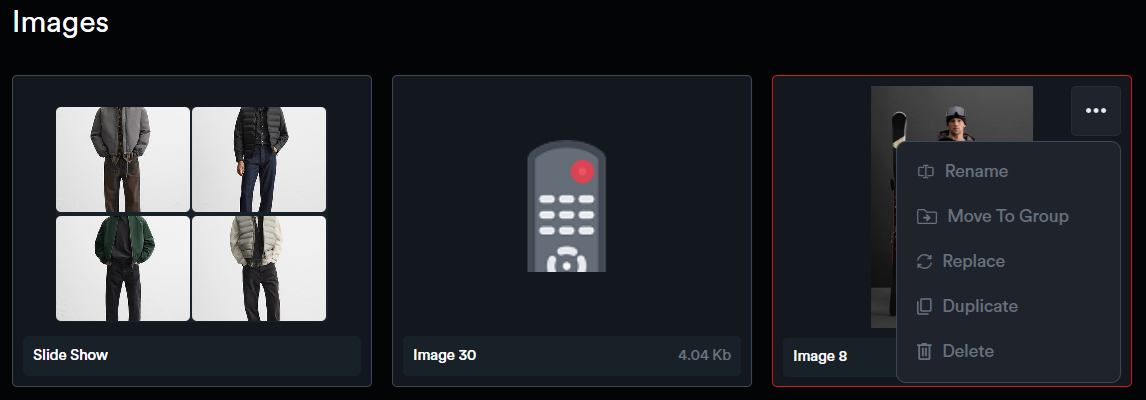
In the ****Videos**** section, users can upload and save video assets for the brand. These assets can also be organized into different groups.
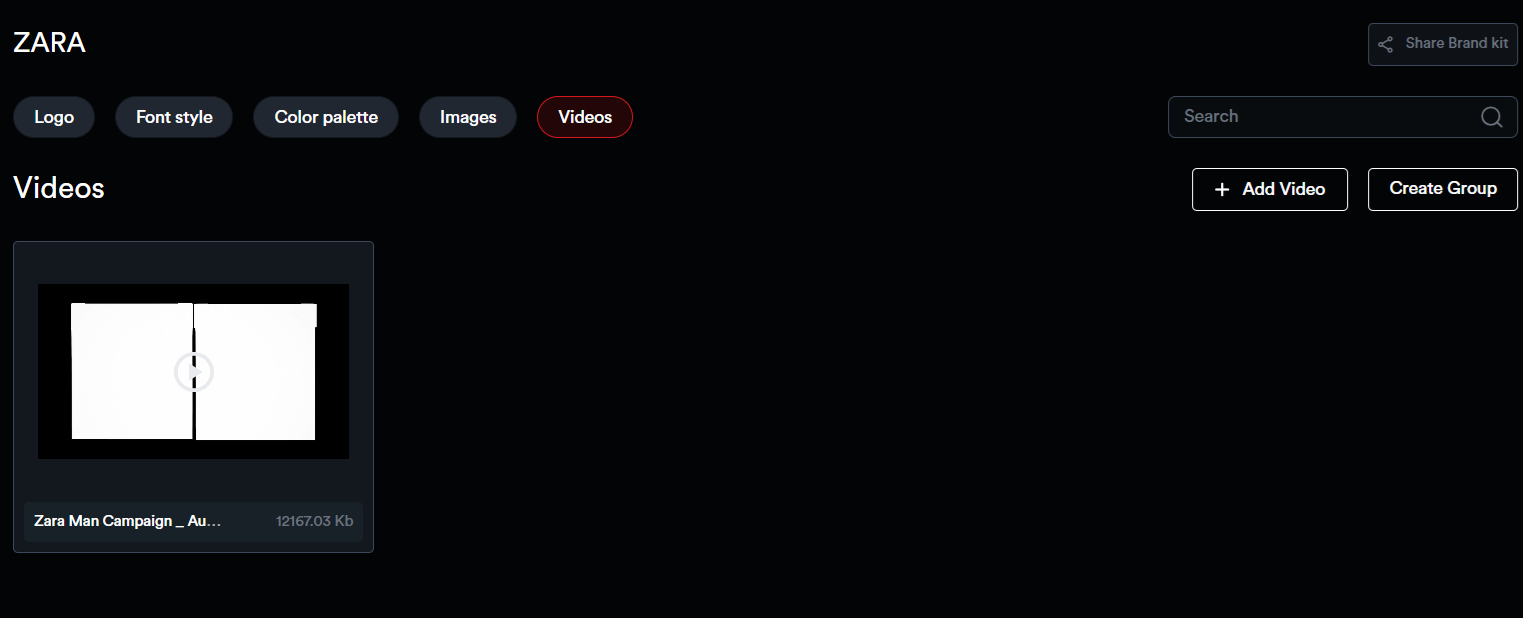
To create a group, click on ‘Create Group’, enter a name, and upload videos directly from the popup. Each uploaded video includes options to Rename, Move to Group, Replace, Duplicate, or Delete.
Each Brand Kit comes with the following options:
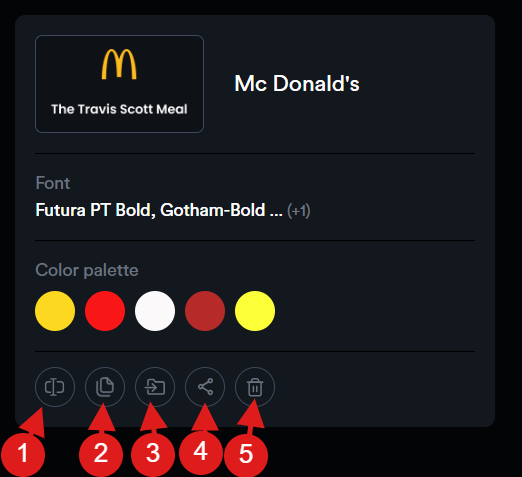
****1. Rename**** – Change the name of a Brand Kit.
****2. Copy**** – Create a duplicate of the Brand Kit.
****3. Move to Folder**** – Organize Brand Kits into folders. To create a new folder, click ****‘New Folder’**** and enter a name. Then, use the ****‘Move to Folder’**** option to place the Brand Kit into an existing folder.
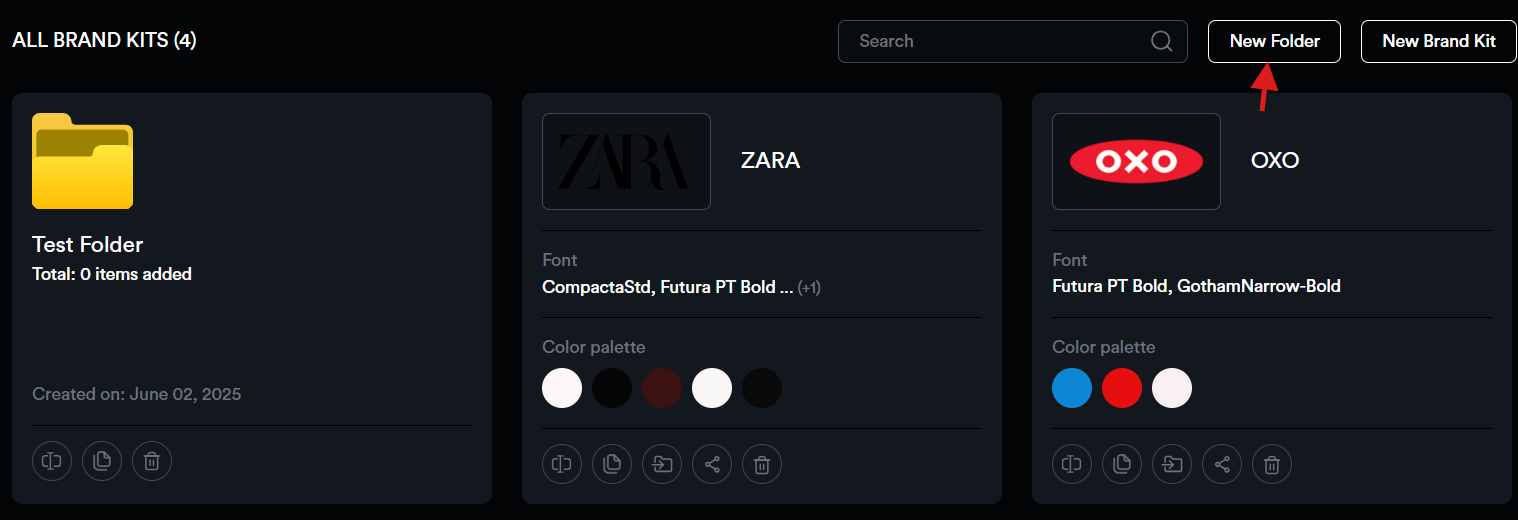
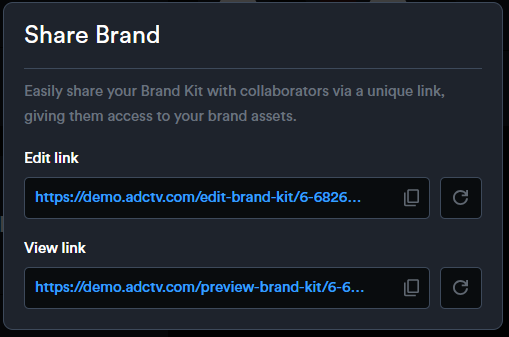
****4. Share**** – Collaborate by sharing your Brand Kit via a unique link. No login is required for users to access it. When you click ****‘Share Brand’****, a popup will display two links:
- ****Edit Link**** – Allows collaborators to upload assets to the Brand Kit.
- ****View Link**** – Grants view-only access to the kit without the ability to upload or edit assets.
****5. Delete**** – to remove the Brand Kit.
# Layouts
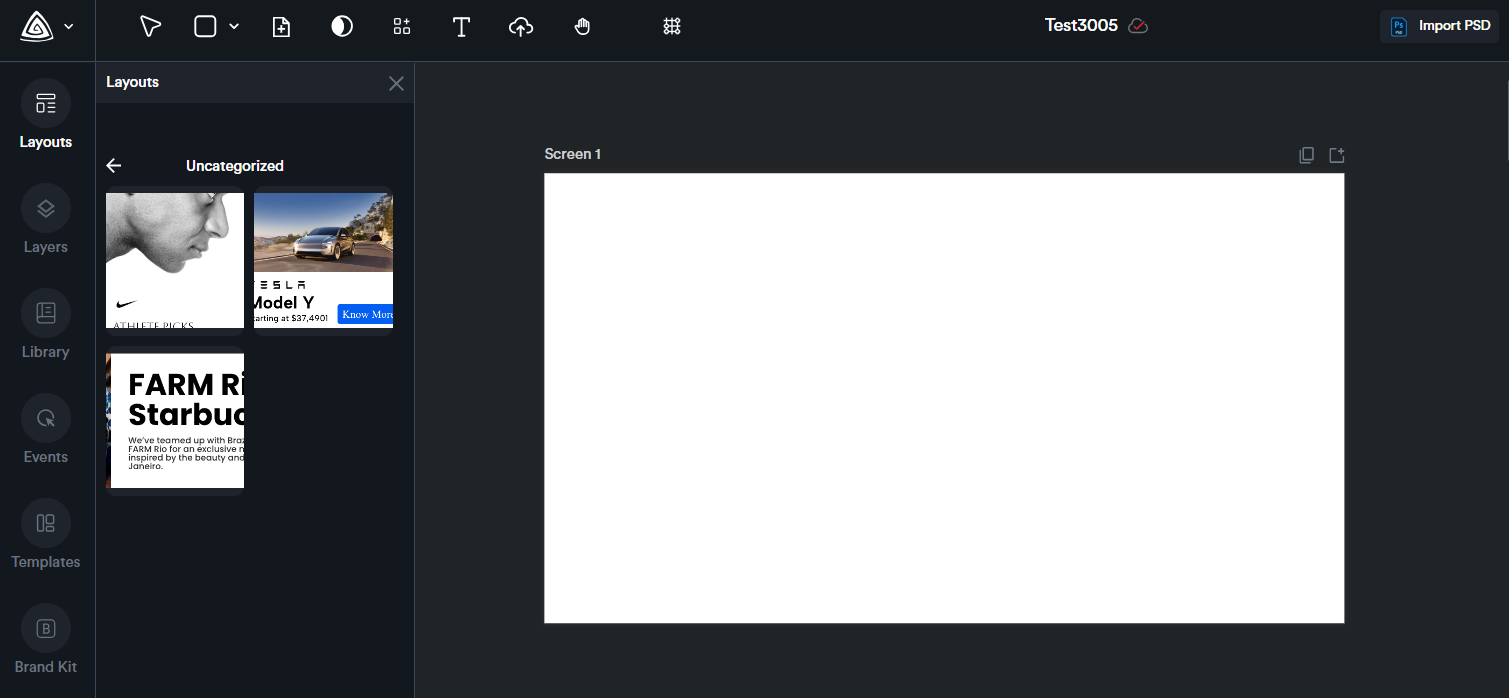
You can select and group multiple components to create a custom layout. Once created, the layout can be named, saved, and reused anytime.
This is particularly helpful for building reusable sections—such as headers or footers—that you can easily insert into your ads whenever needed.
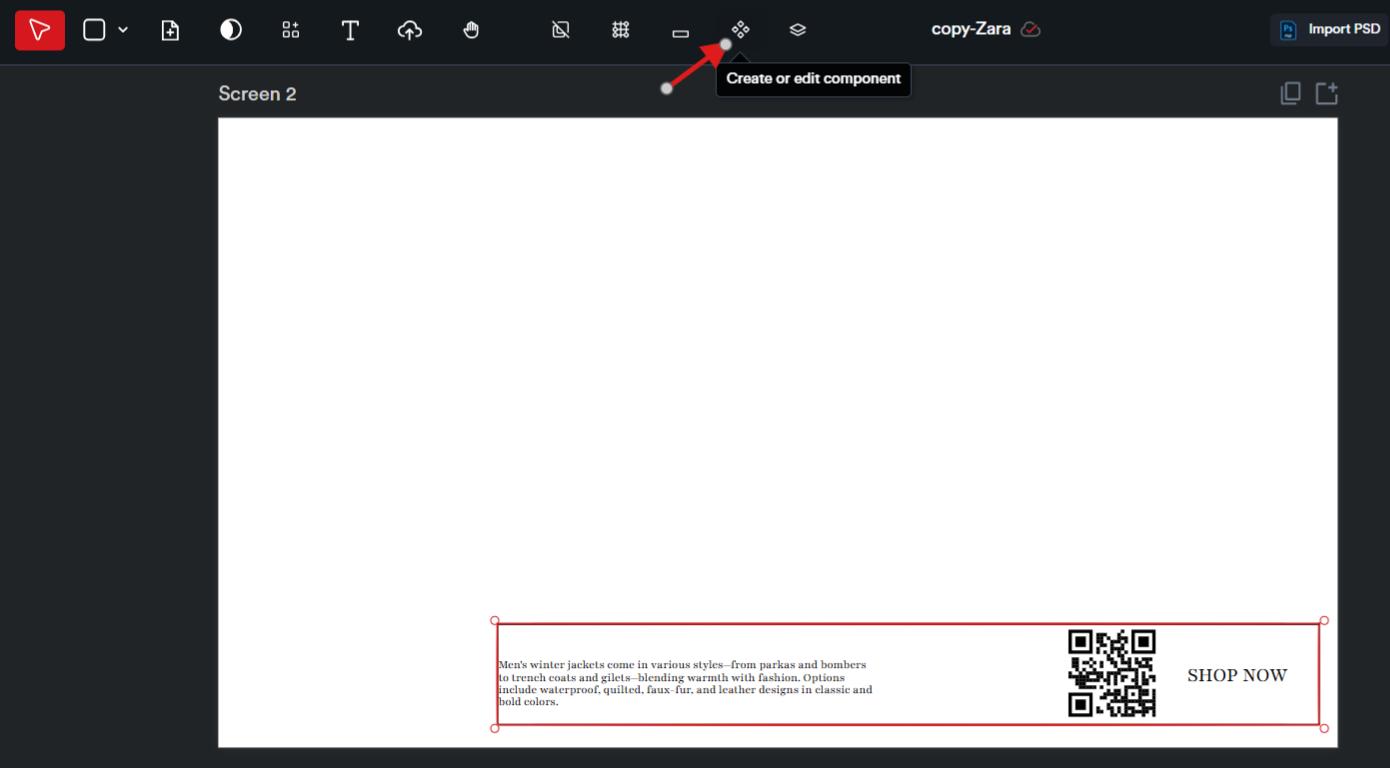
****For example, here I have a description text, a QR code, and a CTA text.****
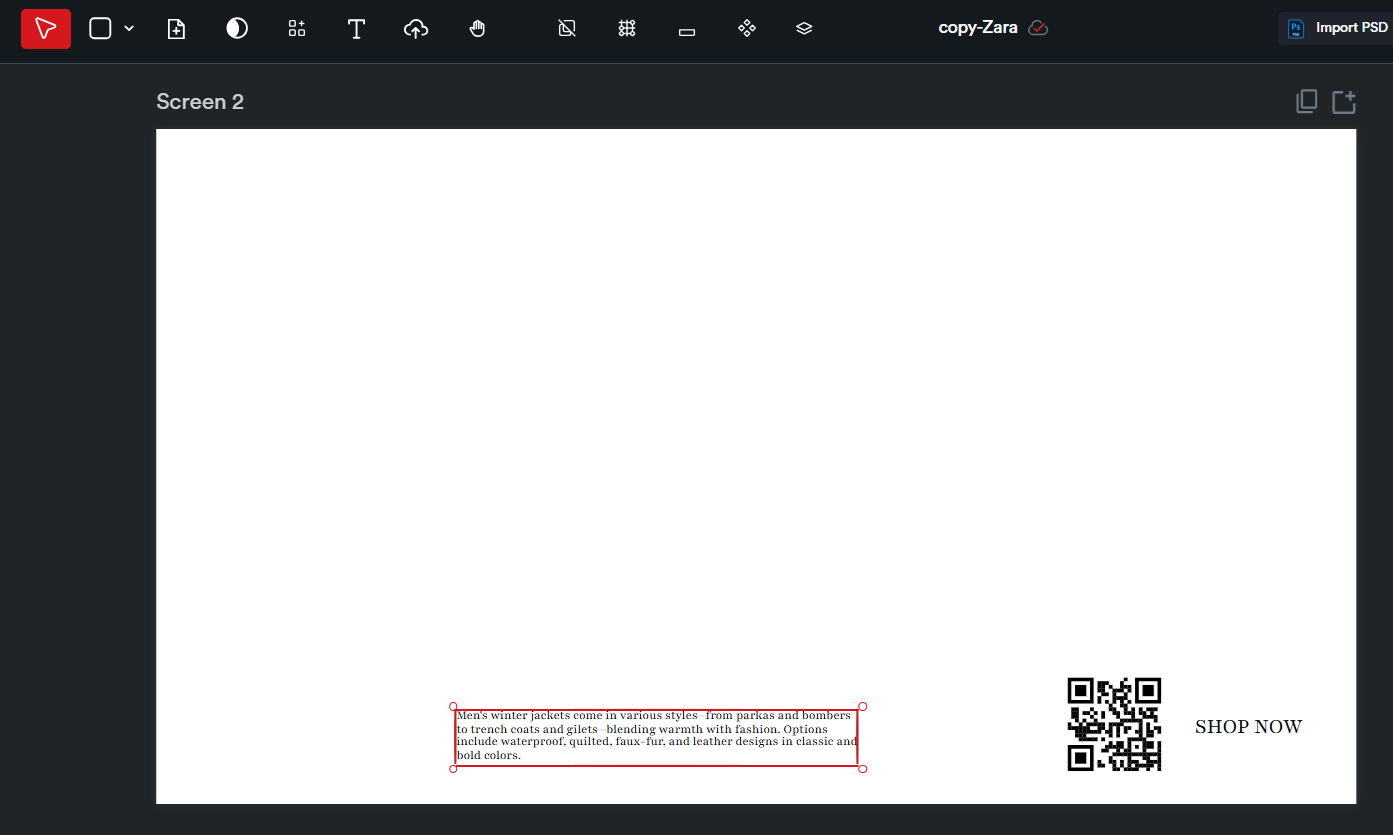
To turn these into a custom layout, start by selecting all three elements—hold the Shift key while clicking on each one. Then, click the ****‘Create Group’**** icon at the top to group them together.
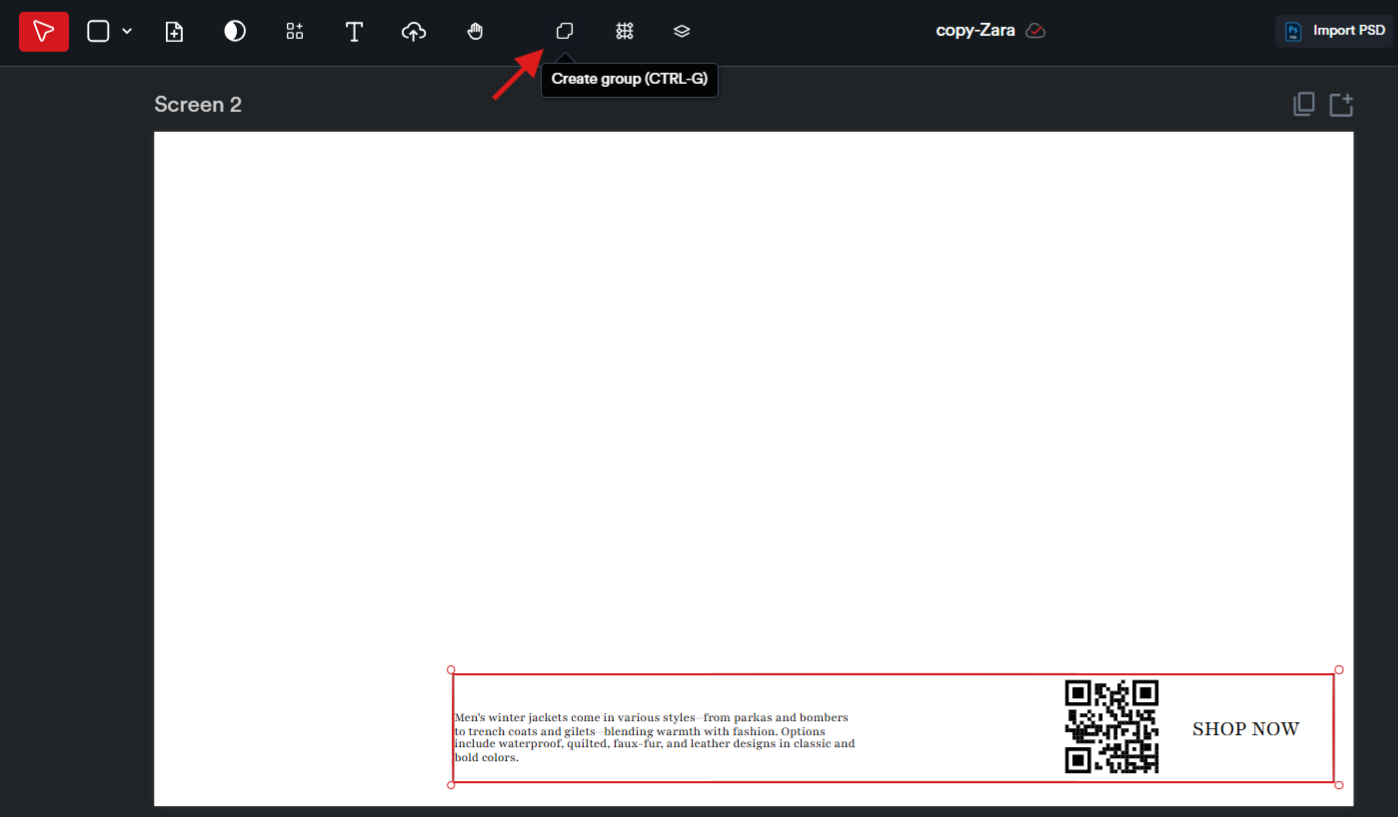
Next, click on the ****‘Create or Edit Component’**** button to begin creating your custom layout.
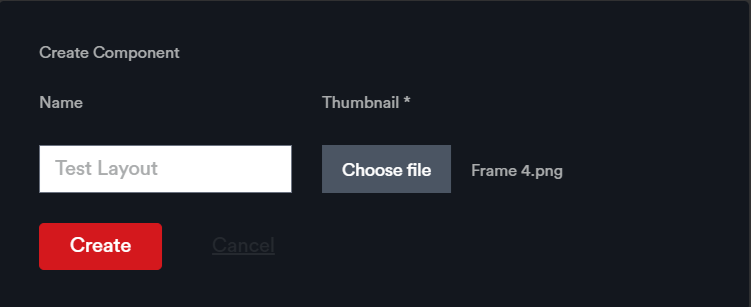
Give your layout a name and upload a thumbnail image. Once you're done, click ****‘Create’**** to save it.
The saved layout will be available in the ****Layouts**** module within the creative editor page and can be reused in any future creatives.